Sensational Tips About How To Build A Evaporator


Cheap Maple Syrup Evaporator Build (part 2) Sealing Air Gaps - Youtube

Maple Syrup Evaporator : 10 Steps (with Pictures) - Instructables

The event takes place in a high altitude desert, and frequently enjoys a.
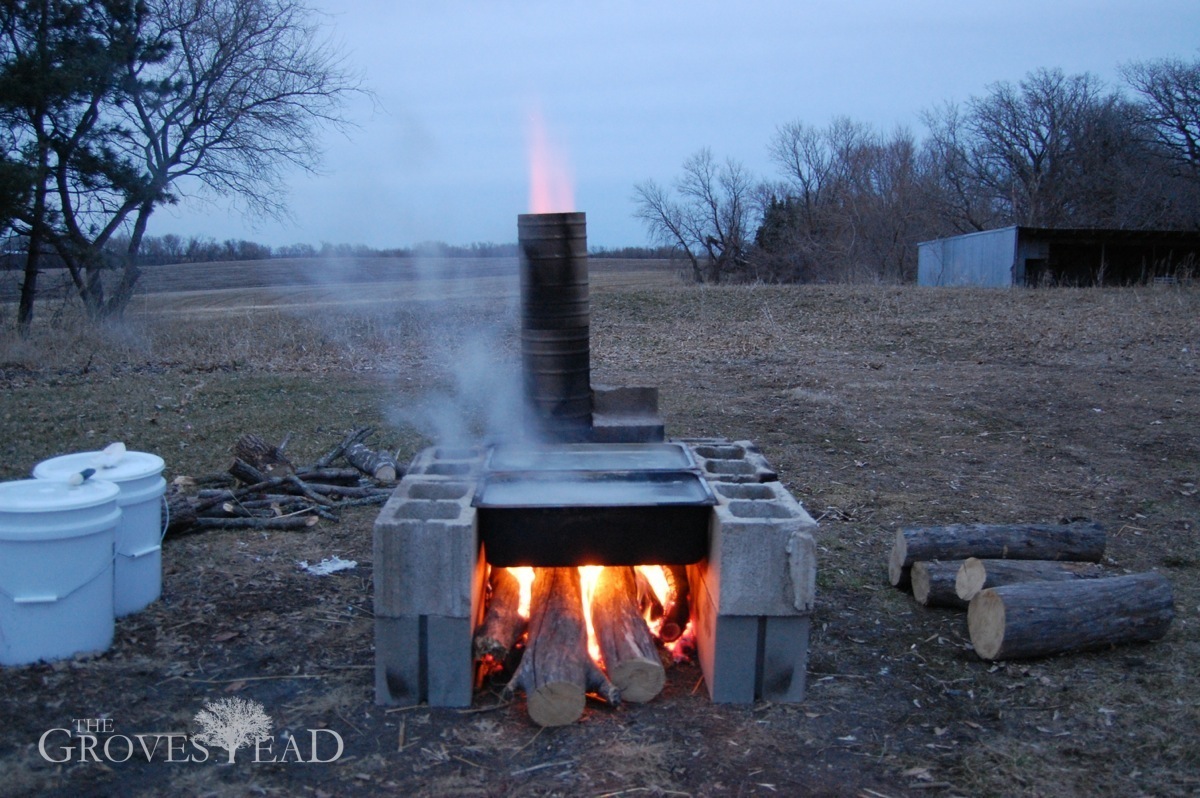
How to build a evaporator. We are stripping the cane and hope to squeeze the juice out in a couple of weeks and put this evaporator. There's a good chance you have everything you need to set up a primitive evaporative cooler. This is part 2 of how to build a syrup evaporator.
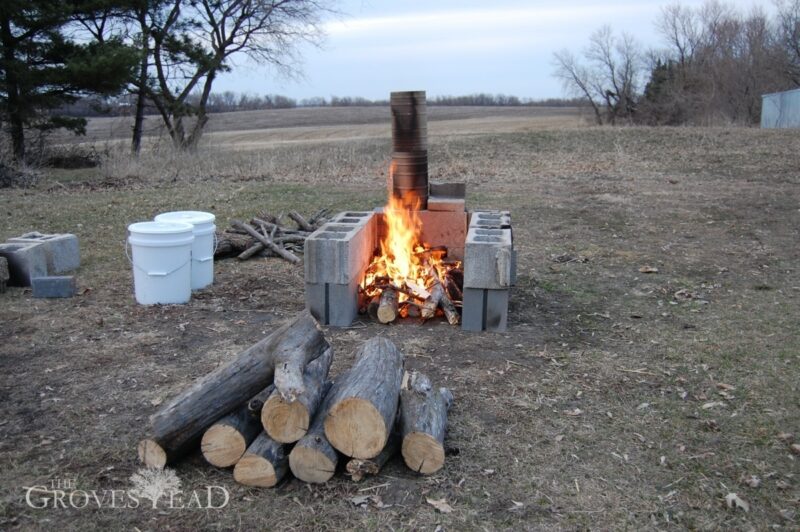
The motor pulls warm air through a wet. Light the fire and allow it to start to burn from front to back. Once you get the concept and get some practice, it is.
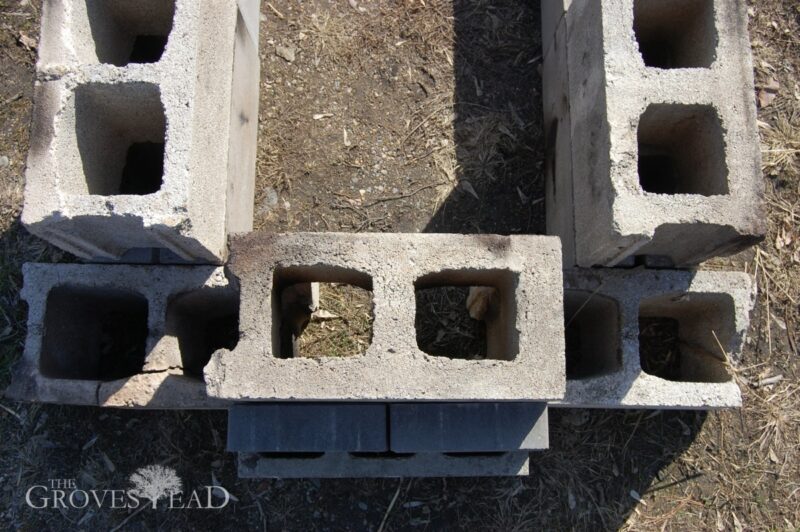
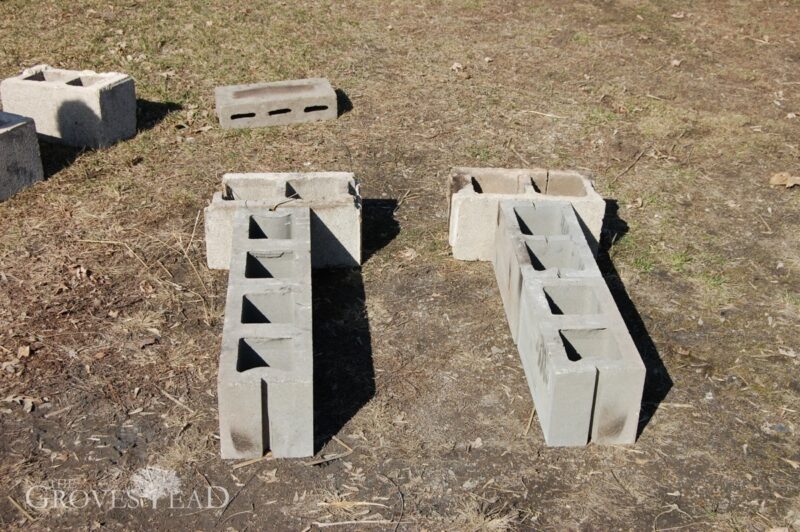
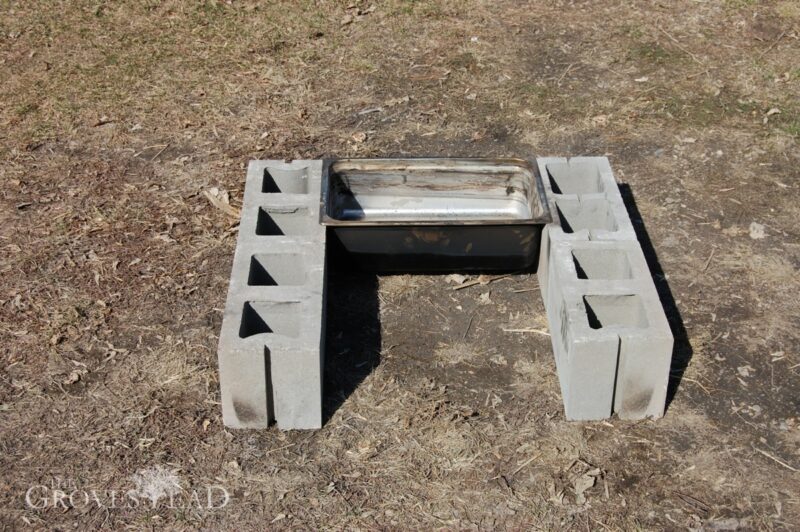
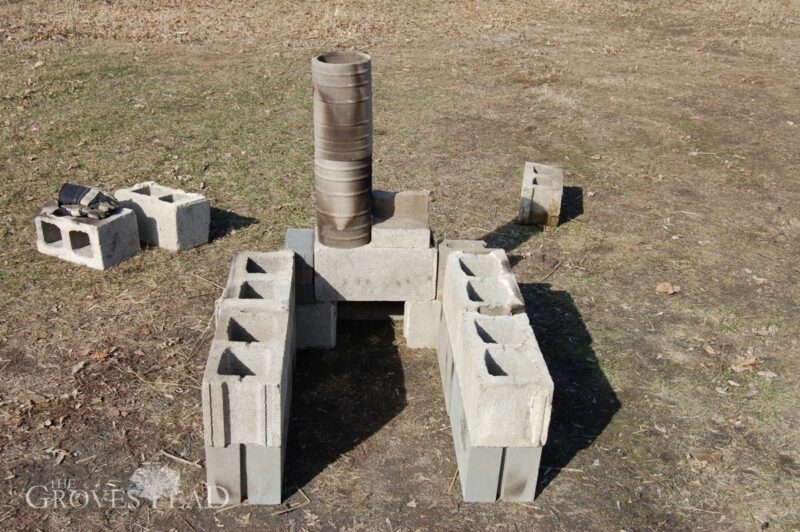
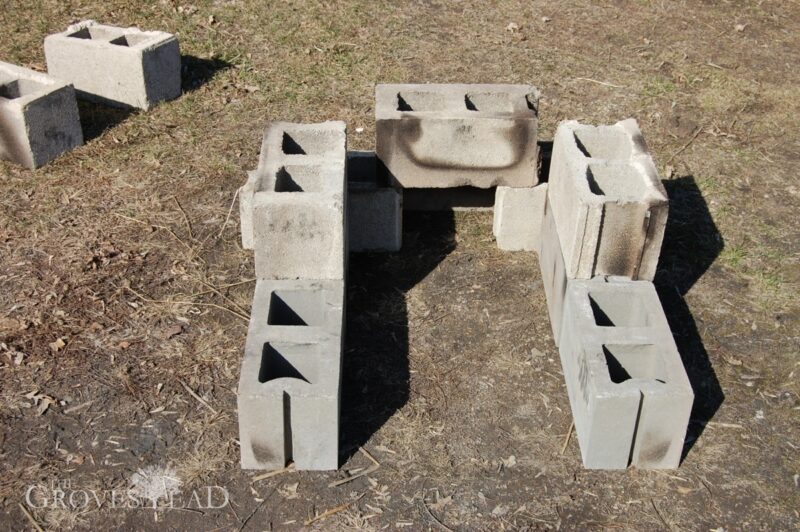
Evaporative coolers are made up of four essential parts: Firebrick mortar (can) 1 @ $15.00 $15.00. 4 small holes were drilled.
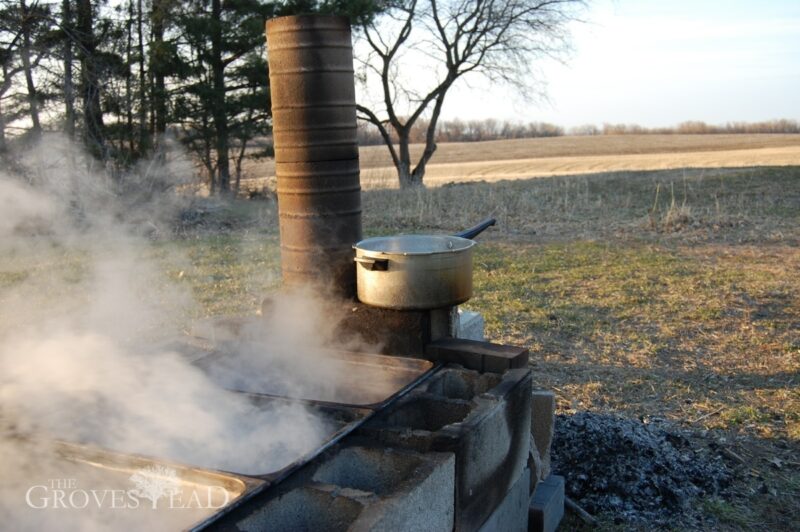
Watch all our how to make maple syrup vids here: I then cut 1/2 of pipe out of 1 side and fitted a tee piece. When syrup season comes, place all of the pans in the racks and fill them with sap.
Insert your heat shields, place the evaporator pans on top and fill them with sap. Pans 6 @ $ 5.00 $30.00. Simple evaporative air cooler can be easily built in less than an hour.
A 700mm length of poly pipe was attached to that and the water pump was hooked up to the other end. In case you need to create a monolayer of lipids inside a spherical flask and don’t to spend $3000 on a commercial rotary evaporator, this is the. As the sap begins to boil, laddle sap from the.
If only there was a way to reduce the amount of water that we had to pack out. Easy to build diy maple syrup evaporator made from a file cabinet. Set up a super basic evaporative cooler for a free and simple cooling solution.
Refill the emptied pans with water so they won’t burn or warp. Continue the boiling until one pan of sap/syrup remains. When it is low, remove it from the fire and transfer the.

Making Your Sap Into Syrup And Building Own Evaporator | Stoutgrovewv

Diy Maple Syrup Evaporator Build, Made Out Of A... - Buytoolbags
2

Easy To Make Maple Syrup Evaporator - Youtube

Diy Maple Syrup Evaporator Build, Made Out Of A... - Buytoolbags

How To Easily Build A Maple Syrup Evaporator - Little Reasons

How To Make A Cheap Maple Syrup Evaporator For Under $50 | That Yurt

How To Make A Cheap Maple Syrup Evaporator For Under $50 | That Yurt
Diy Maple Syrup Evaporator ||budget 55 Gallon Drum Sugaring Evaporator|| - Youtube